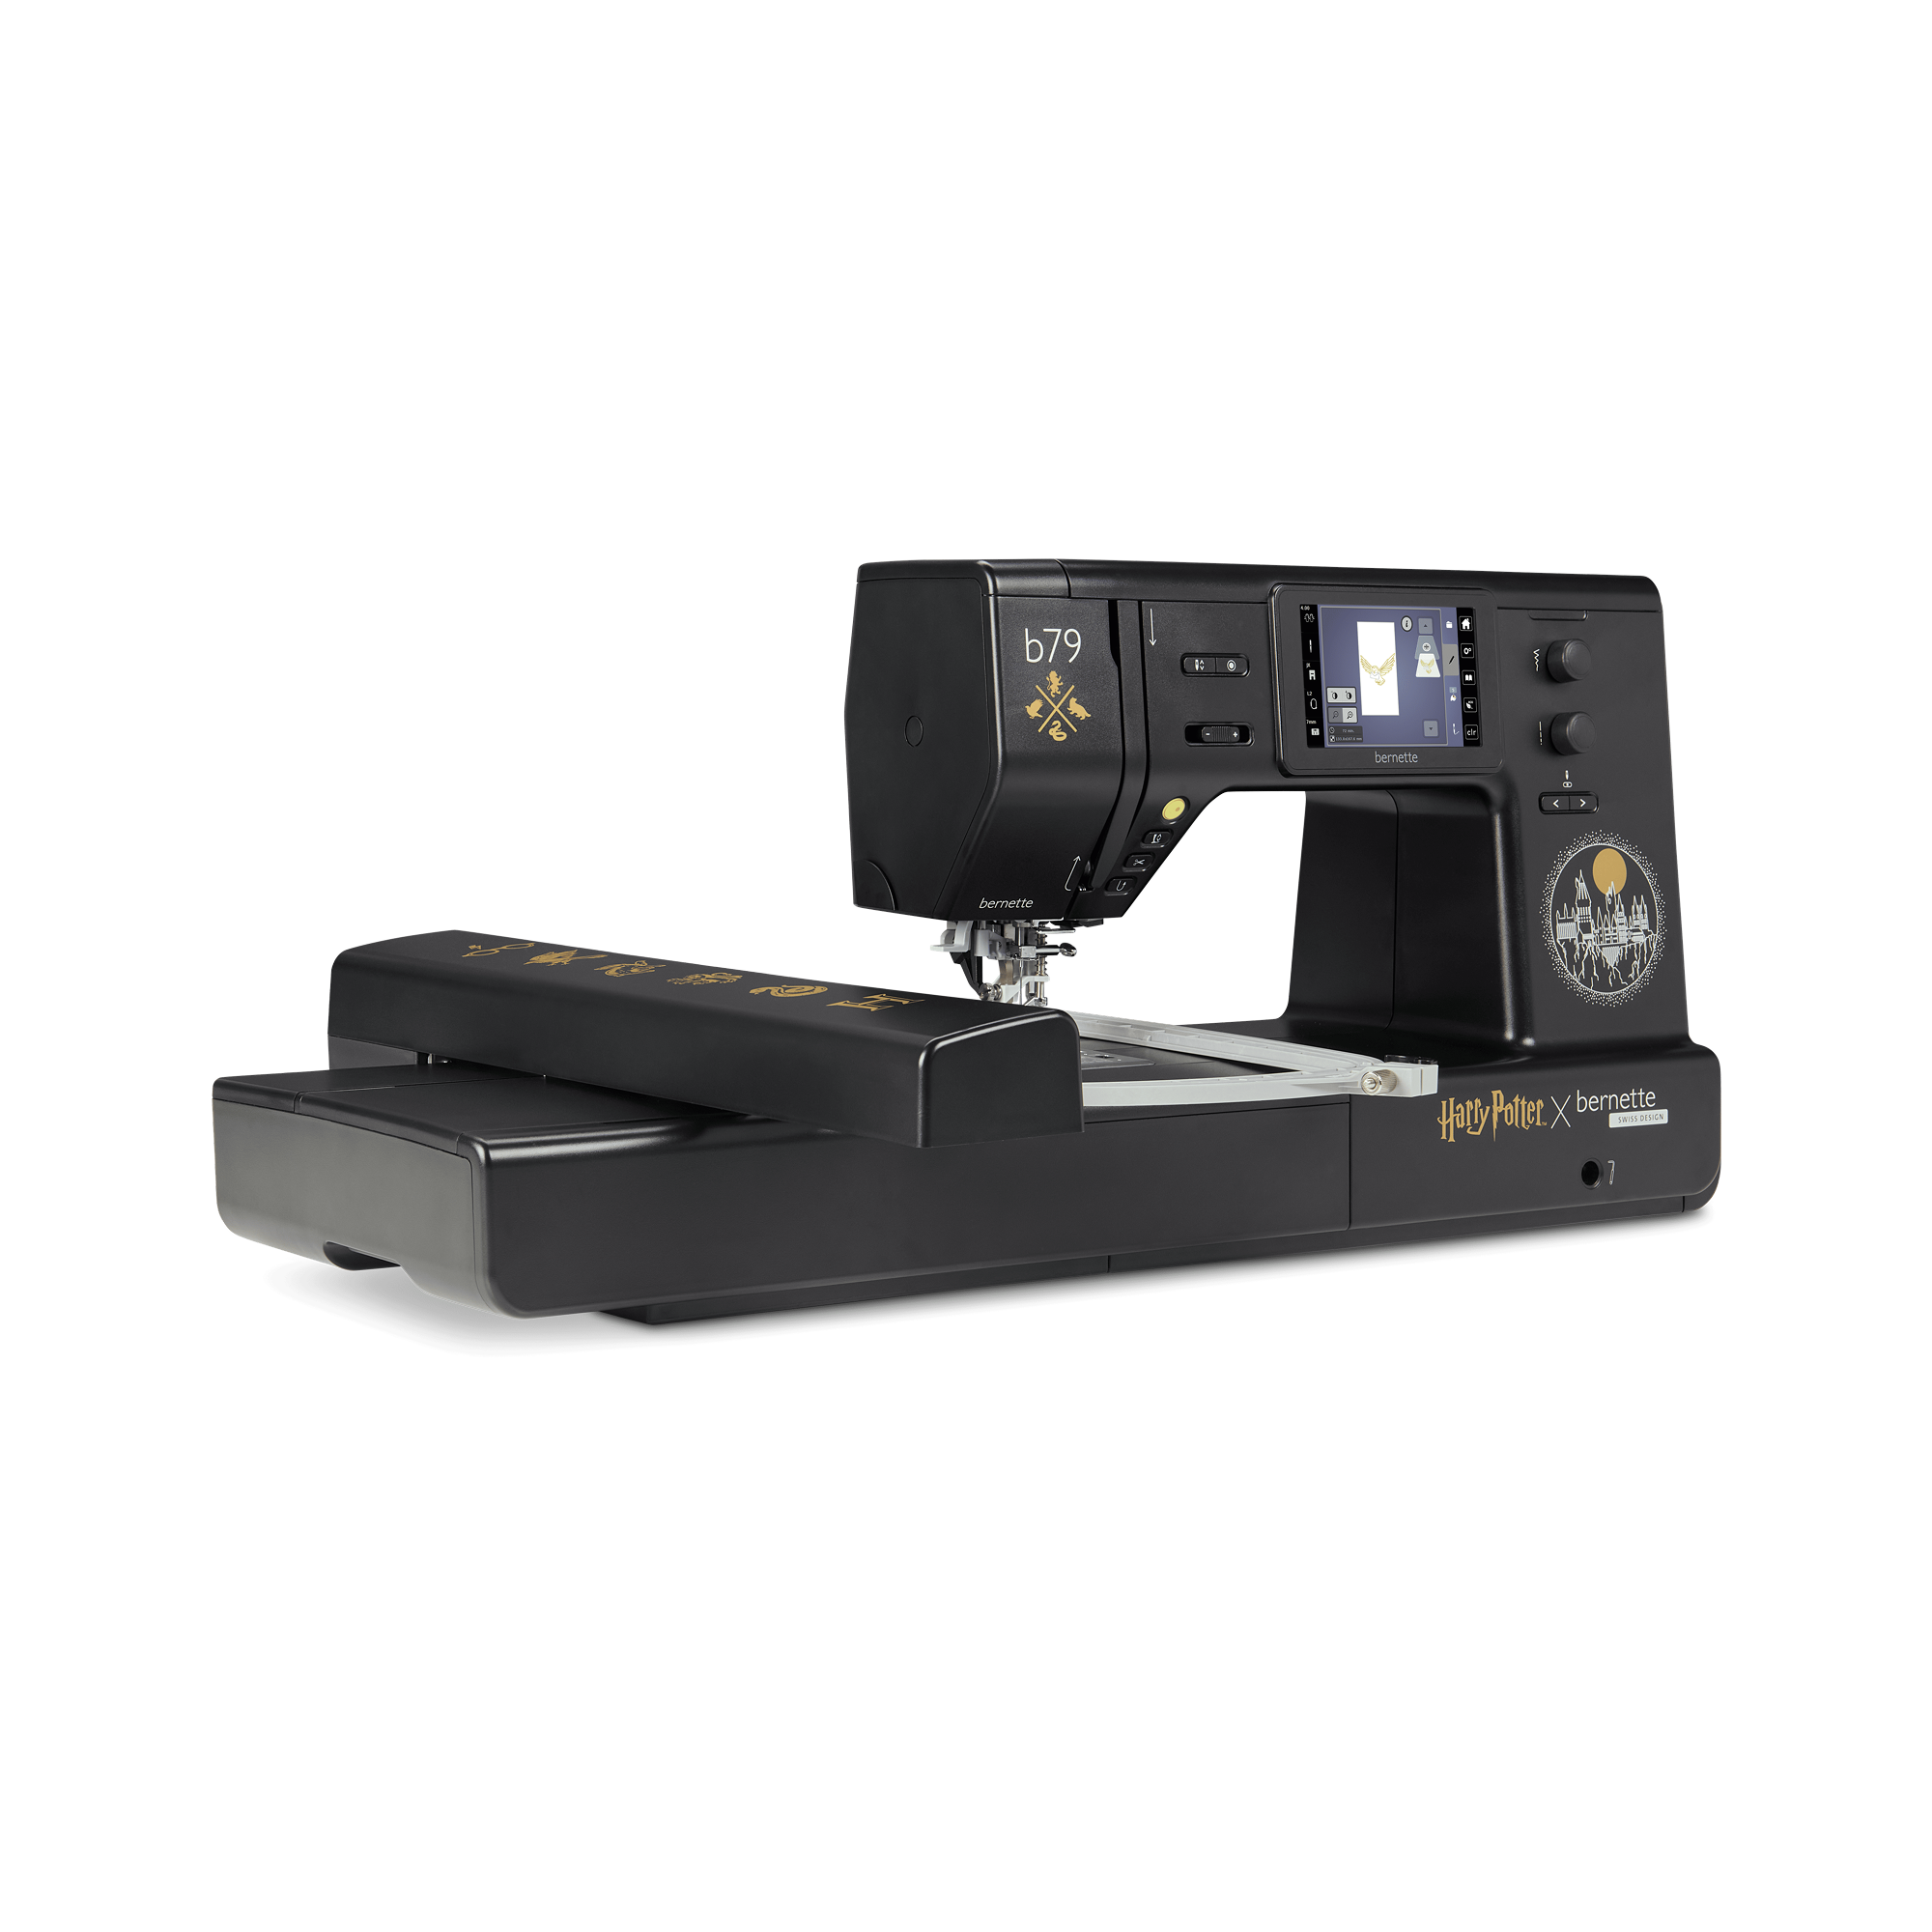
bernette 79 Harry Potter


-
In Stock
Selected Store

Product Description
Description
Bring Magic to your Fabric
Features
- Exclusive “Harry Potter” machine design with hidden details
- Stitch package with 500 stitches, plus 5 exclusive Harry Potter decorative stitches
- 250 pre-installed embroidery designs, including 42 Harry Potter designs
- Plus 10 exclusive Harry Potter embroidery designs
- Large embroidery area up to 260 x 160 mm

Magical design for true Harry Potter fans
Bring the world of Harry Potter into your sewing room and let it inspire you throughout every project. Thoughtfully designed details on and inside the machine are waiting for you to discover them.
Every session with the b79 Harry Potter becomes a small escape into your very own magical world.
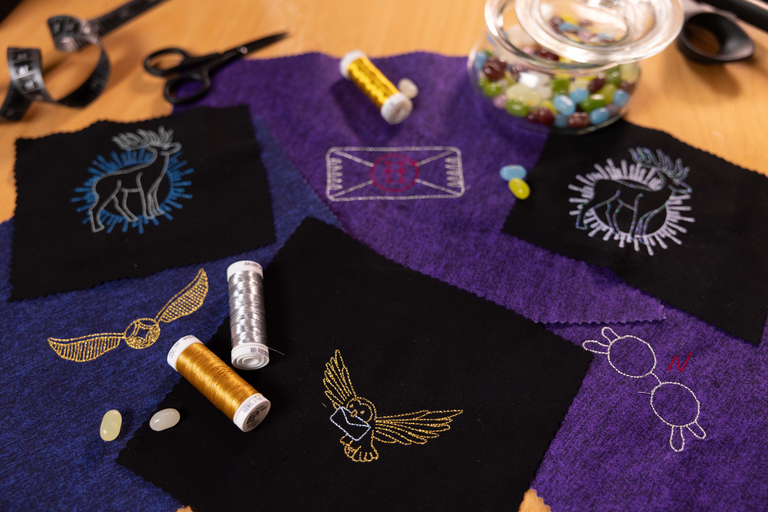
52 Harry Potter embroidery designs
10 exclusive Harry Potter embroidery designs bring the spirit of Hogwarts into your projects. Whether on hoodies, shirts or home décor, they create accents that feel light yet leave a lasting impression, even small projects gain a special kind of magic. These designs are available exclusively on the bernette 79 Harry Potter and turn every creation into something truly special.
And the magic does not stop at ten. With 42 additional preinstalled Harry Potter embroidery designs from the OESD library, you have even more freedom to explore new creative adventures.
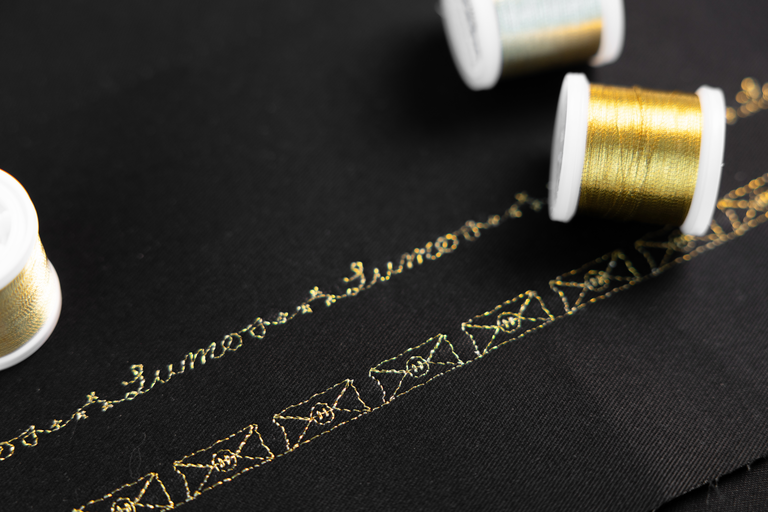
5 exclusive Harry Potter decorative stitches
These five decorative stitches are not something you find just anywhere. They are another standout highlight of the b79 Harry Potter. Whether you want to give hems a creative twist, accentuate edges or add a subtly magical texture to your quilting, these stitches catch the eye without stealing the show.
On your b79 Harry Potter, you can combine the decorative stitches directly on the screen to match your own style and turn every project into something truly one of a kind.
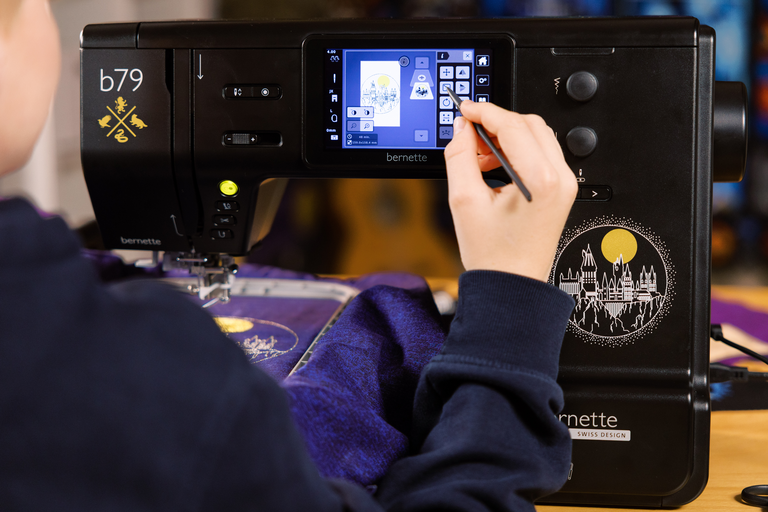
Create directly on screen
On the 5-inch color touchscreen, you can edit designs and stitches intuitively to match your project. Rotating, mirroring and combining feels effortless until everything fits your idea perfectly.
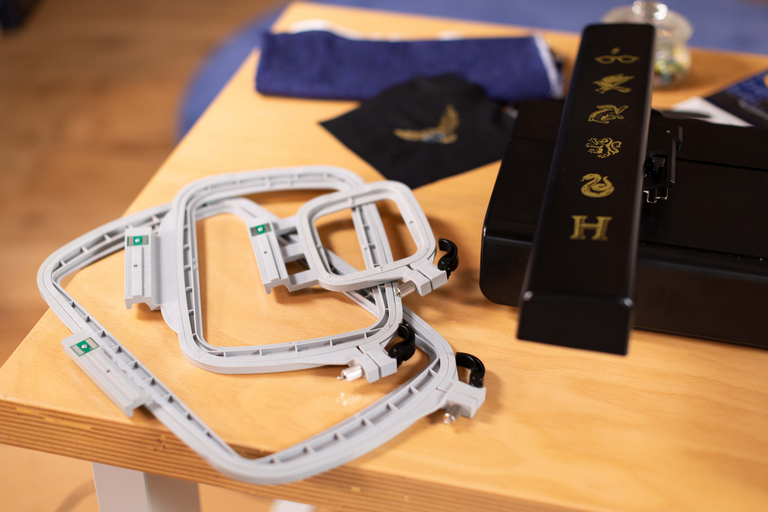
3 embroidery hoops included
With embroidery hoops in three sizes, you are ready for any project. From compact designs to large motifs up to 10” x 6” (260 x 160 mm), everything is possible, including automatic hoop recognition directly on the touchscreen.
Features and Functions