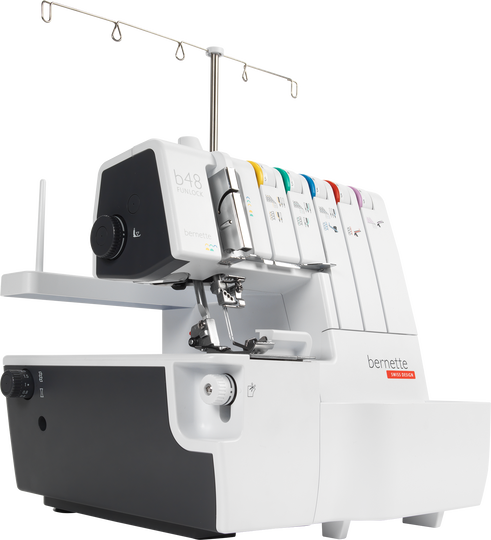
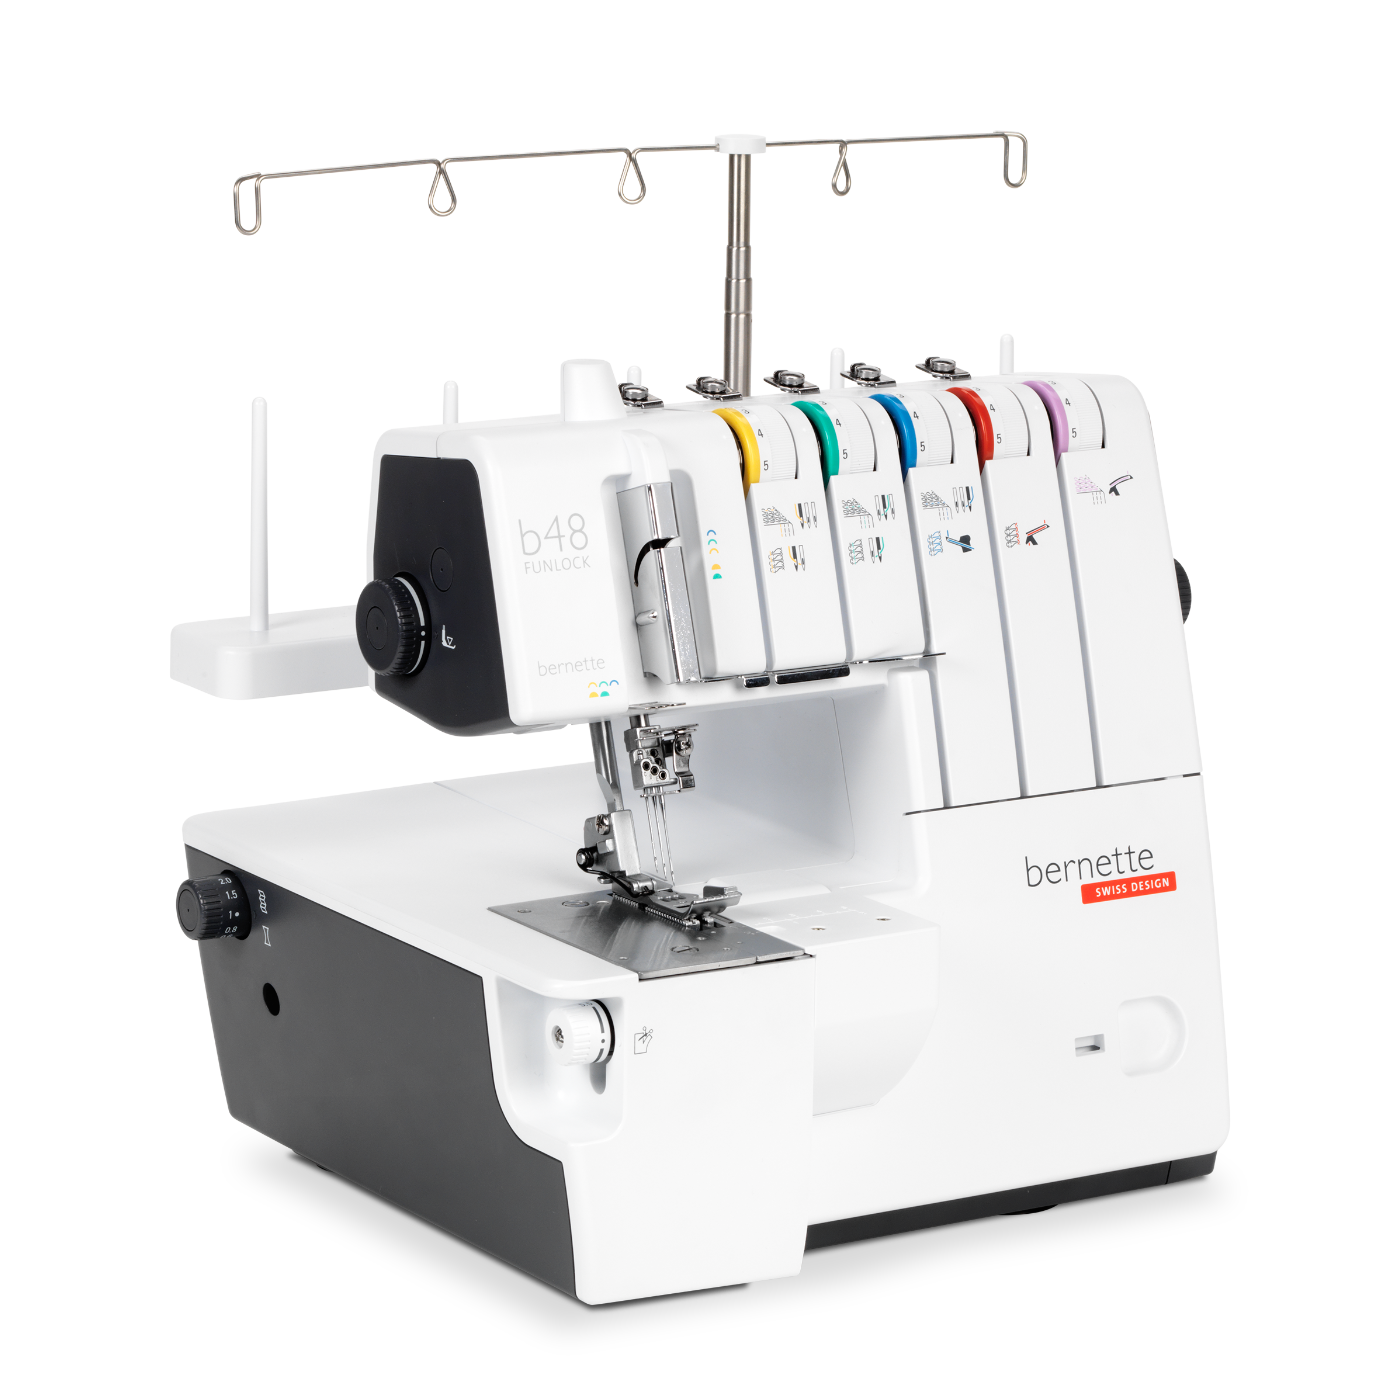
bernette 48 FUNLOCK

bernette 48 FUNLOCK
Item No. 5240007106
895.00 CHF
Availability in online store:
  • In Stock

bernette 48 FUNLOCK
Item No. 5240007106
bernette 48 FUNLOCK image number

Product Description


Description

An affordable overlocker/coverstitch machine with a wide range of features and impressive stitch quality

Features

  • 2-, 3-, 4- and 5-thread stitches
  • Overlock seam width: 3-7 mm
  • Coverstitch width: 2,8 / 5,6 mm
  • Combo stitches width: up till 10 mm
  • Rolled hem width: 1,5 mm
  • Spacious working area (87 mm)
  • LED light for optimal visibility
  • High stitch quality with speeds of up to 1300 stitches per minute
  • Differential feed
  • Color-coded theading paths for easier threading
  • Manual threader
  • Accessories in looper cover
  • Large cut-offs bin included

A wide range of stitches for beautiful stitching and seams


Your bernette 48 FUNLOCK has a wide range of stitches: whether you require safety seams or edges with overlock stitching, coverstitches, stitches such as super stretch for highly elastic materials, flat seams, roll seams, roll hems or chain stitching – the possibilities with your bernette 48 FUNLOCK are almost limitless.

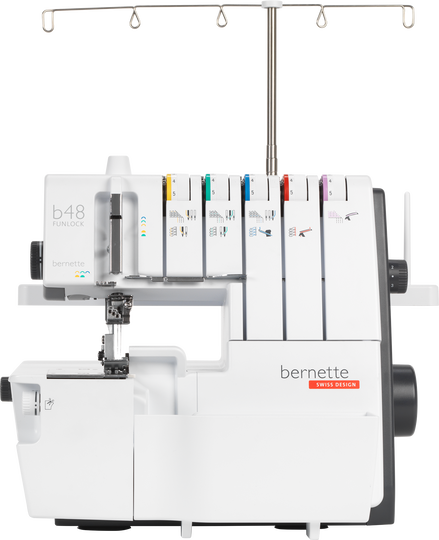
Threading made simple


If you follow the colour-coded threading paths of the bernette 48 FUNLOCK, threading is very straightforward. A separate needle threader and looper threading mechanism also make this easier.

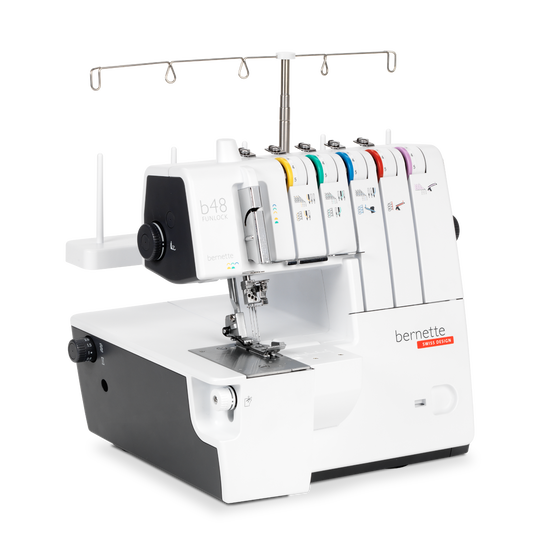
Large working area for large sewing projects


With its 87 mm working area, the bernette 48 FUNLOCK provides plenty of space for larger sewing projects. Another highlight is the bright LED light, which ensures that the area underneath the needle is always well-lit.

High sewing speed for efficient operation


The bernette 48 FUNLOCK allows straight lines of sewing to be carried out very quickly. With a sewing speed of up to 1300 stitches per minute and precise stitches, sewing projects take shape in the shortest possible time.

Features and Functions

bernette 48 FUNLOCK
Important
We reserve the right to make changes to the equipment and design.
Space to the Right of the Needle
87 mm
Stitches
23
Overlock Stitch Width
3–7
Stitch Width Coverstitch
2.8/5.6
Combo Stitch Width
5–10
Safety Switch for Open Cover
Color-coded One-path Threading
Lower Looper Threader Lever
Max. speed (stitches/minute)
1300 spm
Space to the Right of the Needle
87 mm
LED Sewing Light
2-step Presser Foot Lifter with Front-Foot-Lift
Overlock Stitch Width
3–7
Stitch Width Coverstitch
2.8/5.6
Combo Stitch Width
5–10
Accessories in Looper Cover
Lower Looper Threader Lever
Standardized Threading
Color-coded One-path Threading
Thread Tension Release
Threading Chart
Safety Switch for Open Cover
Upper Looper Cover
Upper Looper Release
Coverstitch Insert
Knife Cover Insert
Stitches
23
4-Thread Overlock with Integrated Safety Seam
3-Thread Super Stretch
3-Thread Overlock Wide (LN)
3-Thread Overlock Narrow (RN)
33-Thread Flatlock Wide (LN)
3-Thread Flatlock Narrow (RN)
3-Thread Narrow Seam
3-Thread Rolled Hem
2-Thread Wrapped Overlock Wide (LN)
2-Thread Wrapped Overlock Narrow (RN)
2-Thread Flatlock Wide (LN)
2-Thread Flatlock Narrow (RN)
2-Thread Rolled Hem
2-Thread Overlock Wide (LN)
2-Thread Overlock Narrow (RN)
4-Thread Coverstitch
3-Thread Coverstitch Wide (LC-RC)
3-Thread Coverstitch Narrow (LC-CC)
2-Thread Chainstitch (CC)
3-Thread Overlock (LN) + 2-Thread Chainstitch (CC)
3-Thread Overlock (RN) + 2-Thread Chainstitch (CC)
2-Thread Overlock (LN) + 2-Thread Chainstitch (CC)
2-Thread Overlock (RN) + 2-Thread Chainstitch (CC)

Accessories

Unleash your creativity with the included accessories and be prepared for any creative challenge with a huge variety of optional accessories

Tutorials

b48 + b44 + b42 Tutorial – Preparation (1/15)
Further information is available at http://www.mybernette.com Do you want to start using your b48, b44 or b42 for the first time? In our video tutorial, we show you the first steps. How do you attach and align the thread stand and the thread guide holder correctly? How do you connect the mains cable and the foot control, and where is the looper cover, as well as the accessories stored inside it? This basic information will help you get to know your overlocker and prepare for your first sewing project!
b48 + b44 + b42 Tutorial – Preparation (1/15)
b48 Tutorial – Basics of combo stitches (14/15)
b48 + b44 Tutorial – Basic overlock settings and sewing test (4/15)
Further information is available at http://www.mybernette.com With the help of this video, you can try out your first overlock stitch sewing test on your bernette 48 or bernette 44. What basic settings do you need to sew your first stitches? What do the thread tension, stitch length and differential feed do? How do you set the knife to the correct position, and how do you use the roll hem lever and presser foot pressure? When you have laid all the threads from the looper eye and the needle eye under the presser foot, lower the foot and you can slowly start to sew. The excess seam allowance is automatically cut off during the process.
b48 + b44 Tutorial – Basic overlock settings and sewing test (4/15)
b48 + b44 + b42 Tutorial – Stitch length and differential feed (7/15)
b48 + b44 Tutorial – Stitch width, cutting width, rolled hem (8/15)
b48 + b44 Tutorial – Upper looper converter (9/15)
b48 + b42 Tutorial – Coverstitch/chainstitch: basic settings and sewing test (11/15)
b48 Tutorial – Converting from overlock to coverstitch/chainstitch (13/15)
b48 + b44 + b42 Tutorial – Rethreading (2/15)
Further information is available at http://www.mybernette.com In this video tutorial for your b48, b44 or b42, you will learn important basic information about rethreading, such as: when do you use the spool stabilizers? How can you tie directly onto threads for easy rethreading? How do you separate the thread chain, how do you pull the needle threads through first and then the separate looper threads?
b48 + b44 + b42 Tutorial – Rethreading (2/15)
b48 + b44 Tutorial – Overlock threading (3/15)
b48 + b42 Tutorial – Coverstitch/chainstitch (10/15)
b48 + b44 + b42 Tutorial – Changing the needles and needle threader (6/15)
Further information is available at http://www.mybernette.com This video tutorial shows you how to change the needles on your b48, b44 or b42, and how to use the needle threader. When you open the looper cover, you will find a needle holder and an appropriate screwdriver. To change a needle, first loosen the needle screw slightly. When you then wiggle the needle slightly, it will come out. Now insert the new needle into the needle clamp and push it all the way up into the correct position. You can then tighten the needle screw again. The video continues showing the use of the needle threader, which you orient with the notch up. You can then insert the thread horizontally and guide it along the needle groove with little pressure until the thread is guided through the needle eye. Now you can pull the thread through the eye of the needle with ease.
b48 + b44 + b42 Tutorial – Changing the needles and needle threader (6/15)
b48 + b44 Tutorial – Thread tension and overlock stitch optimization (5/15)
Further information is available at http://www.mybernette.com The appearance of the overlock stitches on your b48 or b44 is influenced by the type of fabric, the thread, the needles, stitch length and differential feed. To allow the threads to interlock loosely, first loosen one thread tension before you tighten another. In this video tutorial, we show you how to control and optimize the thread tension for the various types of overlock stitches. We show you what details you should consider for the following stitches: 4- and 3-thread overlock and 3-thread narrow seams, 3-thread roll hems, and 3-thread flatlock stitches.
b48 + b44 Tutorial – Thread tension and overlock stitch optimization (5/15)
b48 + b42 Tutorial – Stitch optimisation for coverstitch and chainstitch (12/15)
b48 + b44 + b42 Tutorial – Maintenance (15/15)
Further information is available at http://www.mybernette.com It is important to take a little time to regularly clean and maintain your b48, b44 or b42, because during sewing and cutting, fabric, thread and, of course, dust residues build up. In this video tutorial, we show you how to care for your bernette properly. When you open the looper cover, you will find a brush. In the accessory box you will also find a screwdriver and the overlock machine oil. The video shows you exactly how to remove the presser foot and the stitch plate to clean your machine in this area. We then show you which parts you can oil and what to do to make sure the oil is well distributed.
b48 + b44 + b42 Tutorial – Maintenance (15/15)