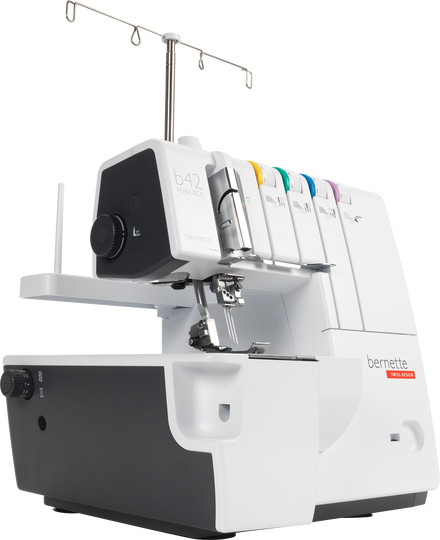
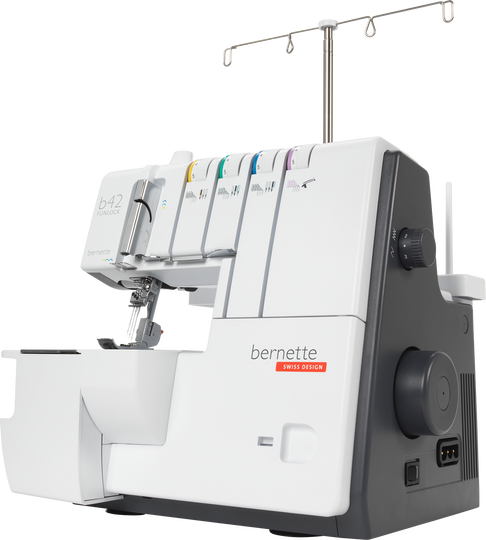
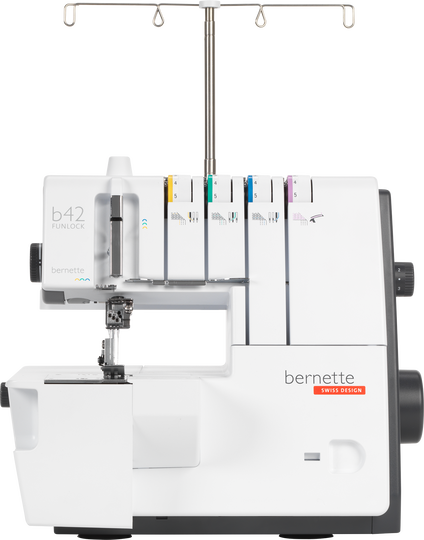
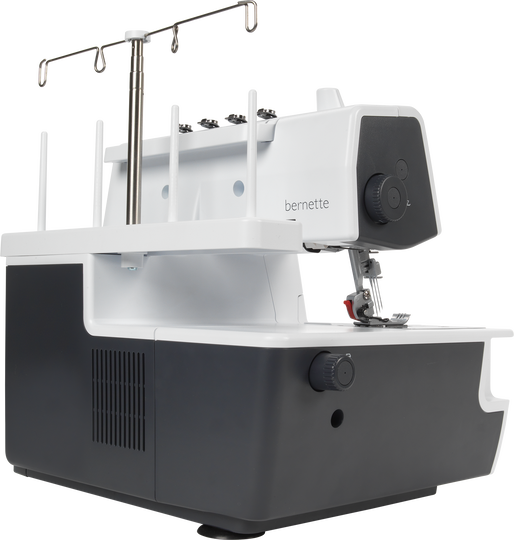
bernette 42 FUNLOCK

bernette 42 FUNLOCK
N. articolo 5240003106
595.00 CHF
Disponibilità nel negozio online:
  • disponibile

bernette 42 FUNLOCK
N. articolo 5240003106
bernette 42 FUNLOCK image number

Descrizione del prodotto


Descrizione

L'economica macchina per punto di copertura a 4 fili e 3 aghi per orli professionali

Caratteristiche

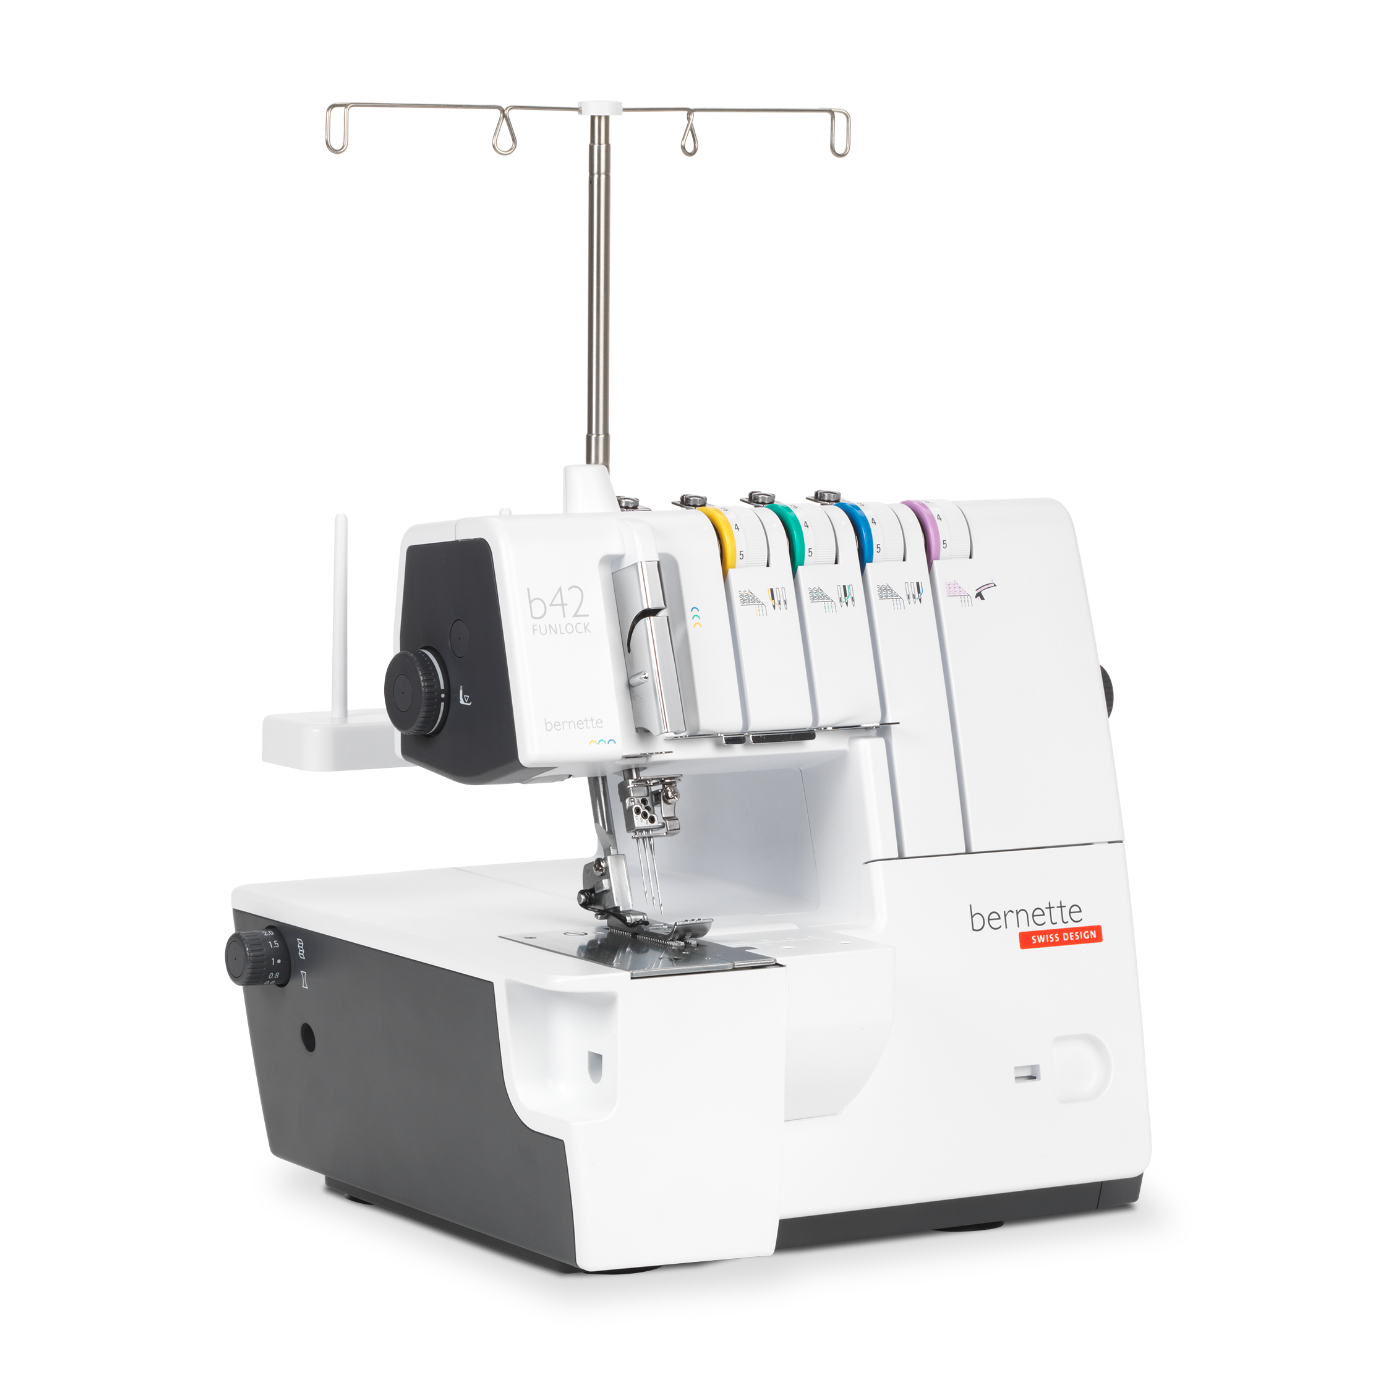
  • Macchina per punto di copertura a 4 fili / 3 aghi
  • Amplia zona di lavoro a destra dell'ago - 87 mm
  • Luce a LED luminosa
  • Regolazione esterna del trasporto differenziale, gradualmente regolabile durante il cucito
  • Infilatura facilitata grazie ai percorsi con codice colore
  • Infilatore dell’ago manuale
  • Accessori nel coperchio del crochet

Facile infilatura grazie alle guide del filo codificate a colori


Questa azione è semplificata dai percorsi di infilatura con codice colori e dall'infilatore del crochet inferiore. Vi basterà seguire i simboli colorati e in un attimo avrete inserito correttamente i fili nella vostra bernette 42 FUNLOCK.

Area di lavoro più ampia per grandi progetti di cucito


Con 87 mm di spazio di passaggio del tessuto a destra degli aghi, la bernette 42 FUNLOCK garantisce lo spazio sufficiente anche per progetti di cucito più grandi. Un altro vantaggio è che l'area di lavoro è bene illuminata da una luce a LED luminosa.

Velocità di cucito elevata per un funzionamento efficiente


La velocità di cucito della bernette 42 FUNLOCK può essere regolata utilizzando il controllo del piedino fino a un massimo di 1300 punti/minuto e consente di cucire in modo molto preciso a tutte le velocità di cucitura.

Extra molto utili per un maggiore divertimento


Potete conservare ordinatamente gli accessori che utilizzate più spesso nel coperchio del crochet della vostra bernette 42 FUNLOCK, così li avrete sempre a portata di mano.

Funzioni

bernette 42 FUNLOCK
Importante
Ci riserviamo il diritto di effettuare modifiche all'attrezzatura e al design.
Spazio a destra accanto all'ago
87 mm
Punti
4
Larghezza del punto di copertura
2,8/5,6
Accessori nel coperchio dell'infilatore
Interruttore di sicurezza in caso di coperchi aperti
Percorsi di infilatura uniformi, marcati a colori
Alzata piedino a 2 livelli con sollevamento della punta del piedino
Velocità max. (punti/minuto)
1300 spm
Spazio a destra accanto all'ago
87 mm
Illuminazione a luci LED
Alzata piedino a 2 livelli con sollevamento della punta del piedino
Larghezza del punto di copertura
2,8/5,6
Accessori nel coperchio dell'infilatore
Infilatura uniforme
Percorsi di infilatura uniformi, marcati a colori
Rilascio della tensione del filo
Schema infilatura
Interruttore di sicurezza in caso di coperchi aperti
Protezione punto di copertura
Punti
4
Punto di copertura a 4 fili
Punto di copertura a 3 fili largo (LC-RC)
Punto di copertura a 3 fili stretto (LC-CC)
Punto catenella a 2 fili (CC)

Accessori

Scatenate la vostra creatività con gli accessori in dotazione e affrontate qualsiasi sfida creativa con i numerosi accessori opzionali

Tutorial

b48 + b44 + b42 Tutorial – Preparation (1/15)
Further information is available at http://www.mybernette.com Do you want to start using your b48, b44 or b42 for the first time? In our video tutorial, we show you the first steps. How do you attach and align the thread stand and the thread guide holder correctly? How do you connect the mains cable and the foot control, and where is the looper cover, as well as the accessories stored inside it? This basic information will help you get to know your overlocker and prepare for your first sewing project!
b48 + b44 + b42 Tutorial – Preparation (1/15)
b48 + b44 + b42 Tutorial – Stitch length and differential feed (7/15)
Further information is available at http://www.mybernette.com In this tutorial video, we show you the various stitch length settings on your b48, b44 or b42. A stitch length of 2.5 to 3 is usually suitable for general sewing. For firm fabrics or thicker threads, you can set a longer stitch length and a shorter stitch length for rolled hems and other purposes. This video also shows you how to adjust the differential feed to the type of material in order to avoid seam puckering, for example. Or do you deliberately want to gather a fine fabric? The video shows you which settings to use for this.
b48 + b44 + b42 Tutorial – Stitch length and differential feed (7/15)
b48 + b42 Tutorial – Coverstitch/chainstitch: basic settings and sewing test (11/15)
b48 + b44 + b42 Tutorial – Rethreading (2/15)
Further information is available at http://www.mybernette.com In this video tutorial for your b48, b44 or b42, you will learn important basic information about rethreading, such as: when do you use the spool stabilizers? How can you tie directly onto threads for easy rethreading? How do you separate the thread chain, how do you pull the needle threads through first and then the separate looper threads?
b48 + b44 + b42 Tutorial – Rethreading (2/15)
b48 + b42 Tutorial – Coverstitch/chainstitch (10/15)
b48 + b44 + b42 Tutorial – Changing the needles and needle threader (6/15)
Further information is available at http://www.mybernette.com This video tutorial shows you how to change the needles on your b48, b44 or b42, and how to use the needle threader. When you open the looper cover, you will find a needle holder and an appropriate screwdriver. To change a needle, first loosen the needle screw slightly. When you then wiggle the needle slightly, it will come out. Now insert the new needle into the needle clamp and push it all the way up into the correct position. You can then tighten the needle screw again. The video continues showing the use of the needle threader, which you orient with the notch up. You can then insert the thread horizontally and guide it along the needle groove with little pressure until the thread is guided through the needle eye. Now you can pull the thread through the eye of the needle with ease.
b48 + b44 + b42 Tutorial – Changing the needles and needle threader (6/15)
b48 + b42 Tutorial – Stitch optimisation for coverstitch and chainstitch (12/15)
Further information is available at http://www.mybernette.com This video tutorial shows you how to optimize your coverstitch and chainstitch on your b48 or b42. To allow the threads to interlock loosely, first loosen one thread tension before you tighten another one. Are the needle threads or the chain looper thread too loose? Does your seam have tunnelling or puckering? We show you step by step how you can adjust the settings to your thread and fabric combination, fine-tuning tensions, stitch length, differential feed, etc. How can you increase the elasticity of stitches? You can find out more in the video tutorial.
b48 + b42 Tutorial – Stitch optimisation for coverstitch and chainstitch (12/15)
b48 + b44 + b42 Tutorial – Maintenance (15/15)
Further information is available at http://www.mybernette.com It is important to take a little time to regularly clean and maintain your b48, b44 or b42, because during sewing and cutting, fabric, thread and, of course, dust residues build up. In this video tutorial, we show you how to care for your bernette properly. When you open the looper cover, you will find a brush. In the accessory box you will also find a screwdriver and the overlock machine oil. The video shows you exactly how to remove the presser foot and the stitch plate to clean your machine in this area. We then show you which parts you can oil and what to do to make sure the oil is well distributed.
b48 + b44 + b42 Tutorial – Maintenance (15/15)