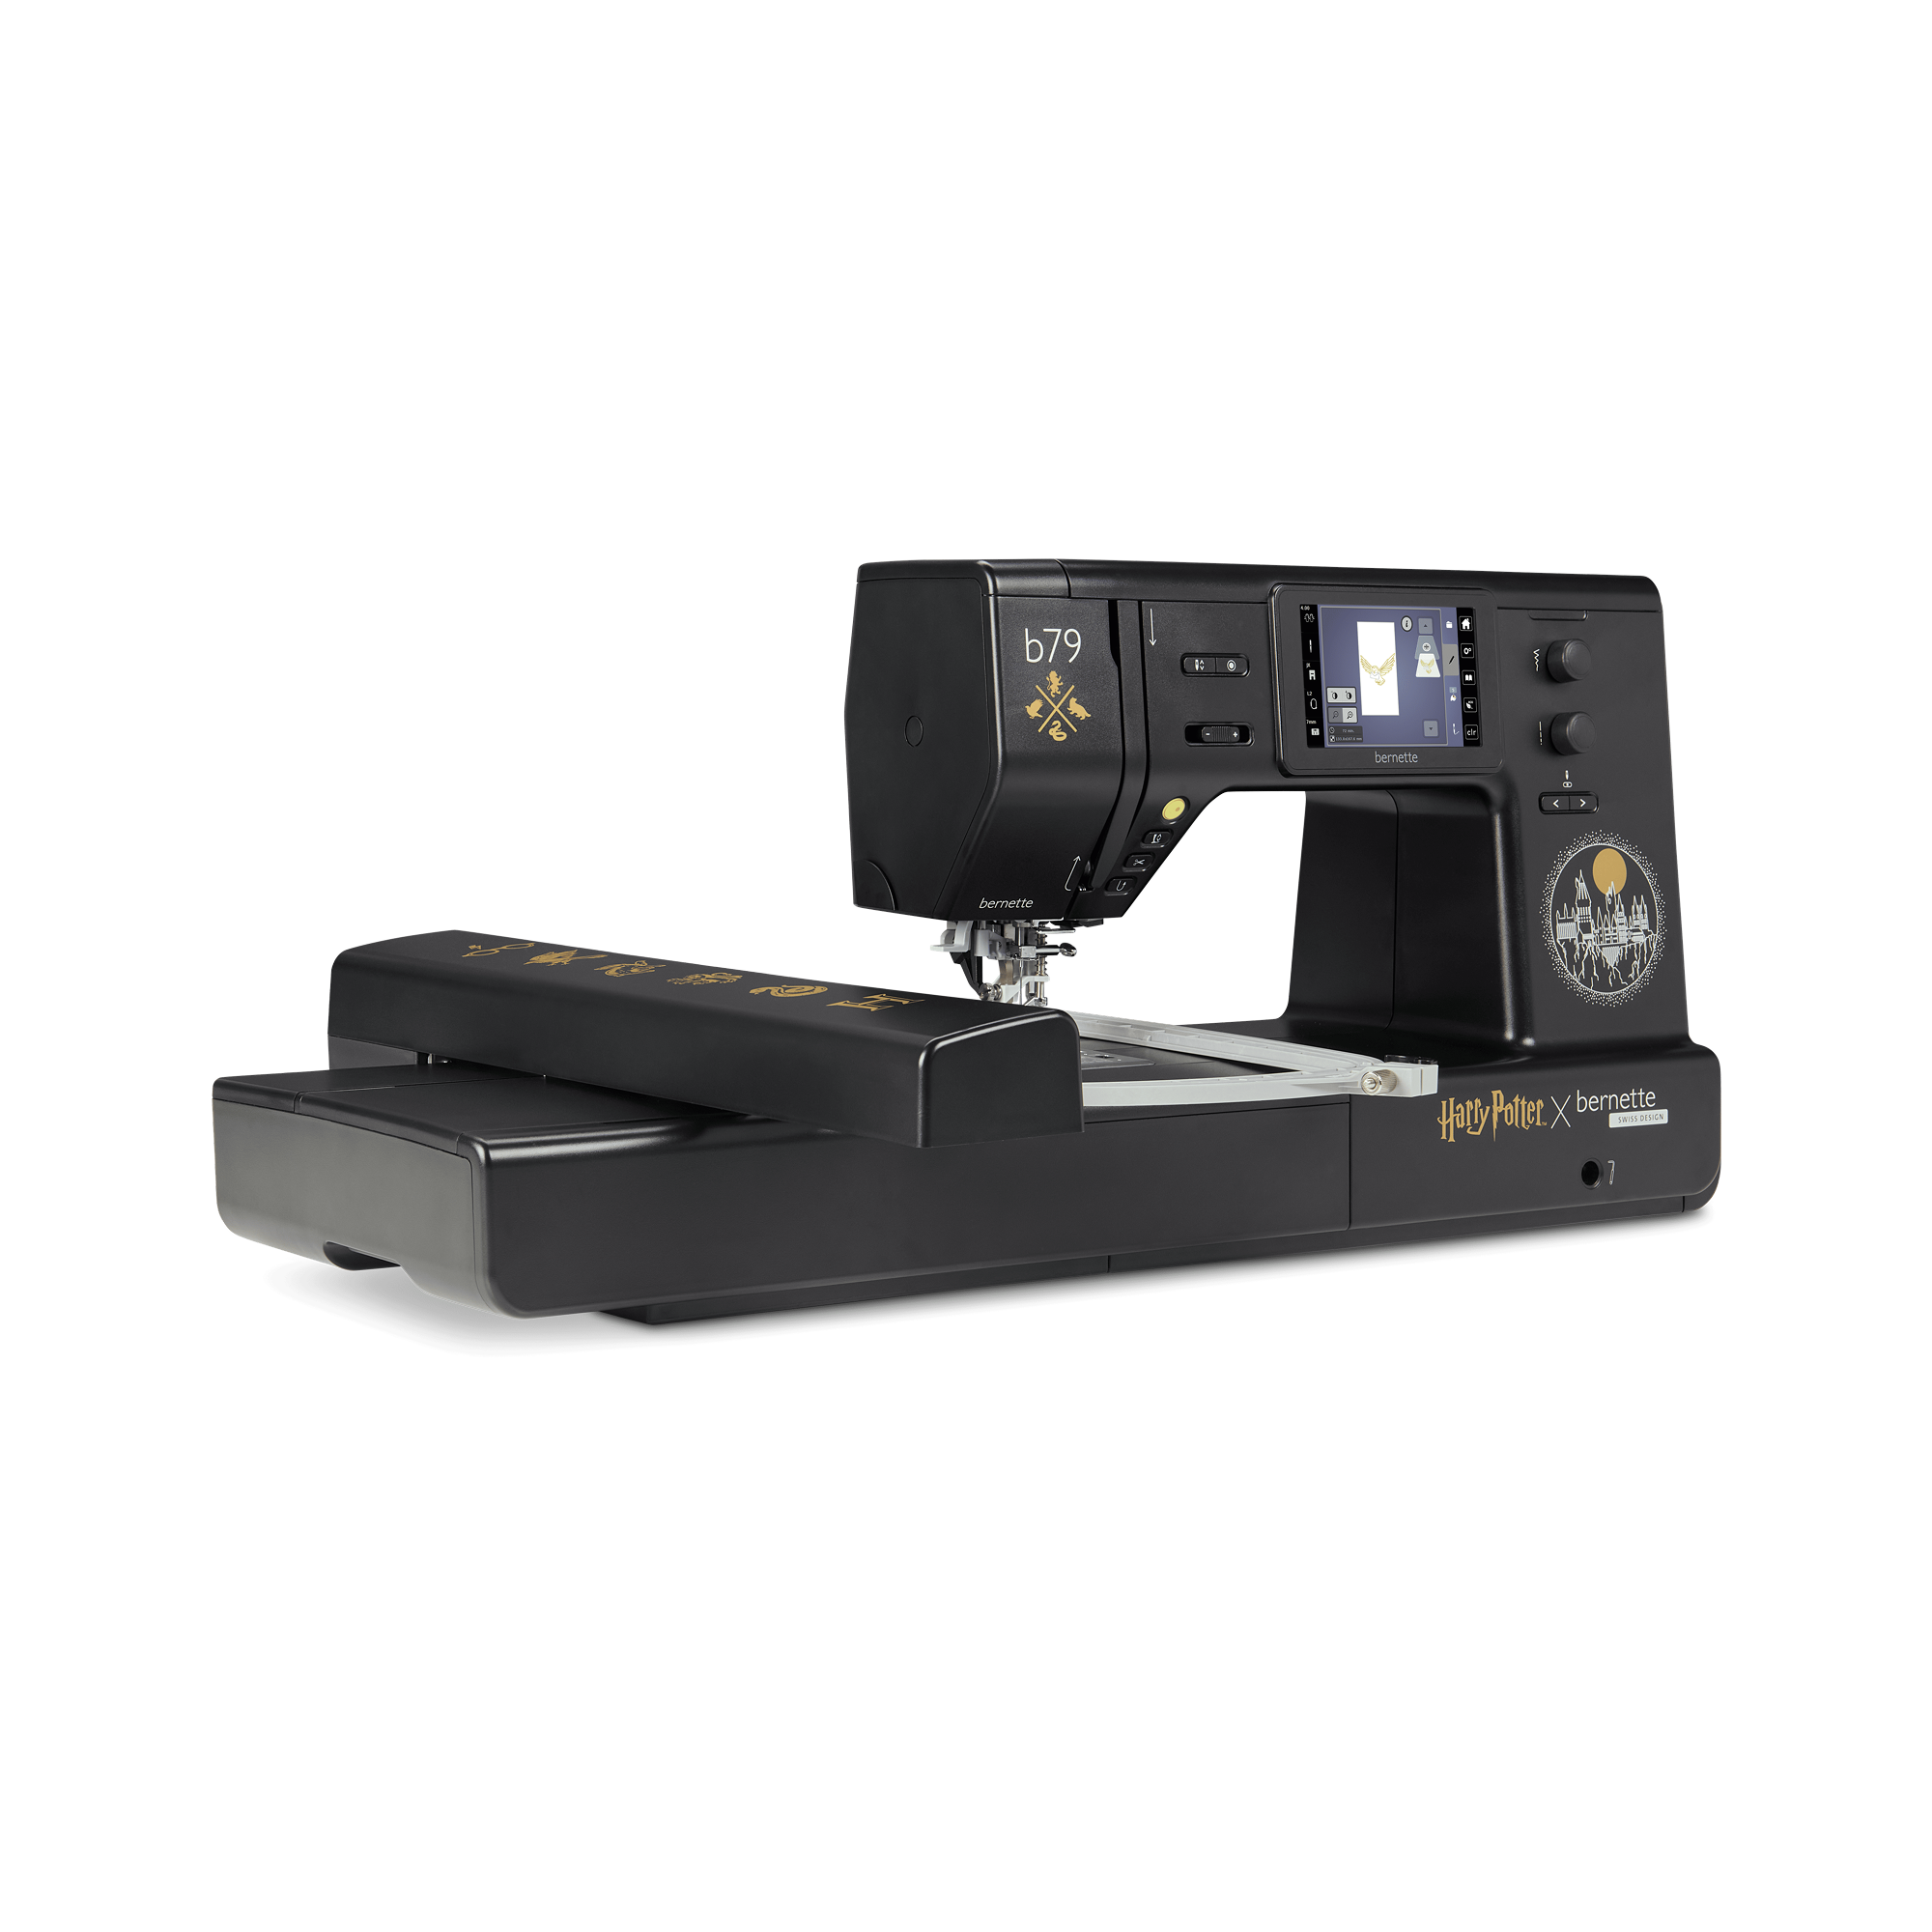
bernette 79 Harry Potter


-
Disponibile
Rivenditore selezionato

Descrizione del prodotto
Descrizione
Cucire e ricamare magicamente
Caratteristiche
- Esclusivo design della macchina in stile Harry Potter con dettagli accuratamente integrati
- 500 tipologie di punti in totale, tra cui 5 esclusivi punti decorativi Harry Potter
- 250 motivi di ricamo preinstallati con 42 design Harry Potter
- 10 altri motivi di ricamo Harry Potter esclusivi
- Generosa superficie di ricamo fino a 260 x 160 mm

Design magico per veri appassionati di Harry Potter
Porta il mondo di Harry Potter nella tua stanza del cucito e lasciati accompagnare dalla magia ad ogni progetto. Accurati dettagli di design sia sopra la macchina che al suo interno non aspettano altro che essere scoperti da te.
Così, ogni volta che lavorerai con la b79 Harry Potter potrai fuggire per un po' nel tuo mondo magico personale.
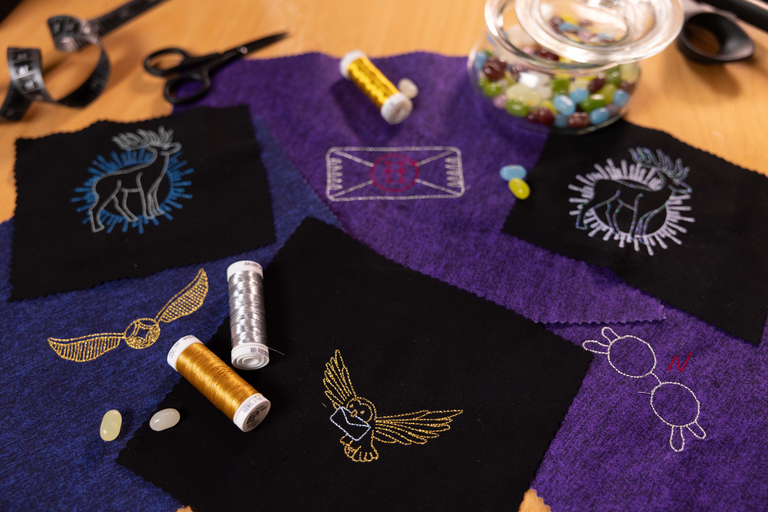
52 ricami di Harry Potter
10 motivi di ricamo Harry Potter esclusivi donano all'istante ai tuoi progetti un tocco di Hogwarts. I design regalano discreti highlight di grande effetto a felpe con cappuccio, T-shirt o articoli decorativi. In questo modo, potrai aggiungere rapidamente un tocco di magia anche ai piccoli progetti. Questi motivi di ricamo, disponibili esclusivamente sulla bernette 79 Harry Potter, trasformano ogni lavoro in qualcosa di davvero speciale.
Ma la magia non finisce con dieci motivi. 42 altri motivi di ricamo Harry Potter preinstallati sulla libreria OESD ti daranno ancora più occasioni per vivere avventure creative.
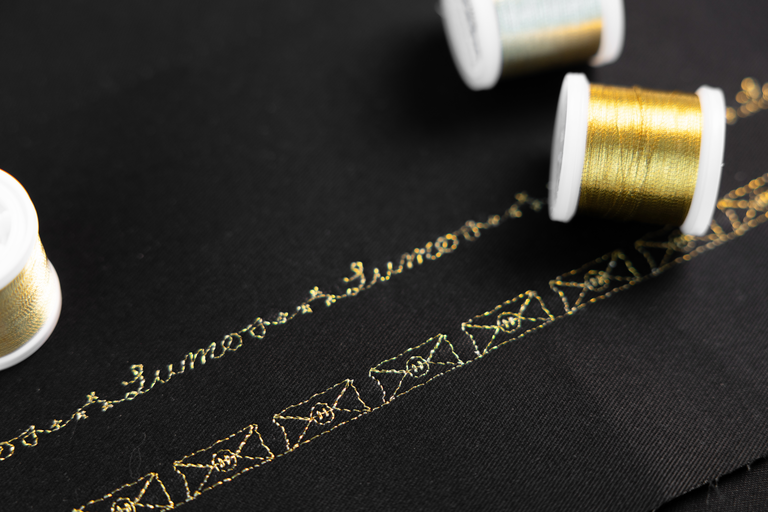
5 punti decorativi Harry Potter esclusivi
Questi cinque punti decorativi non sono un piccolo extra che si trova ovunque, ma un altro highlight della b79 Harry Potter. Se desideri mettere in scena orli creativi, accentuare bordi o donare alle tue trapunte una texture dall'effetto magico, questi punti decorativi catturano lo sguardo in modo discreto.
Sulla tua b79 Harry Potter puoi combinare i punti decorativi direttamente sullo schermo secondo i tuoi gusti, rendendo ogni progetto inconfondibile.
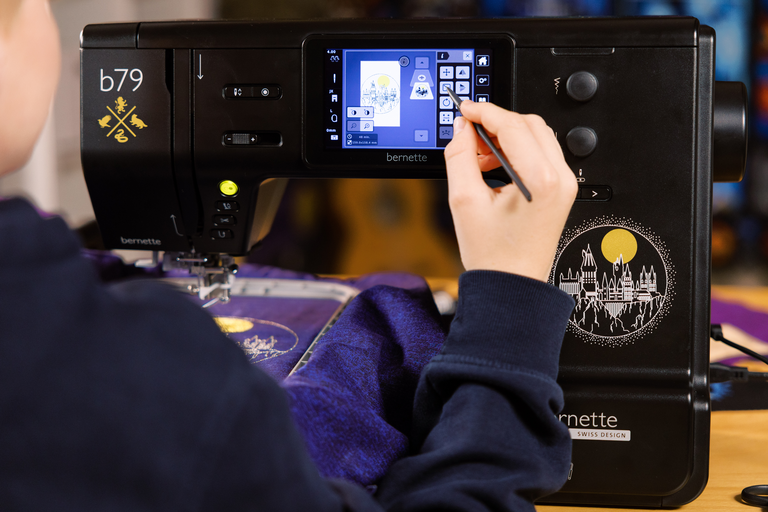
Creatività direttamente sullo schermo
Sul touchscreen da 5" a colori puoi modificare motivi e punti in modo intuitivo secondo il tuo progetto. Ruotare, specchiare e combinare i disegni è un gioco da ragazzi, fino a quando tutto riflette in modo ottimale la tua idea.
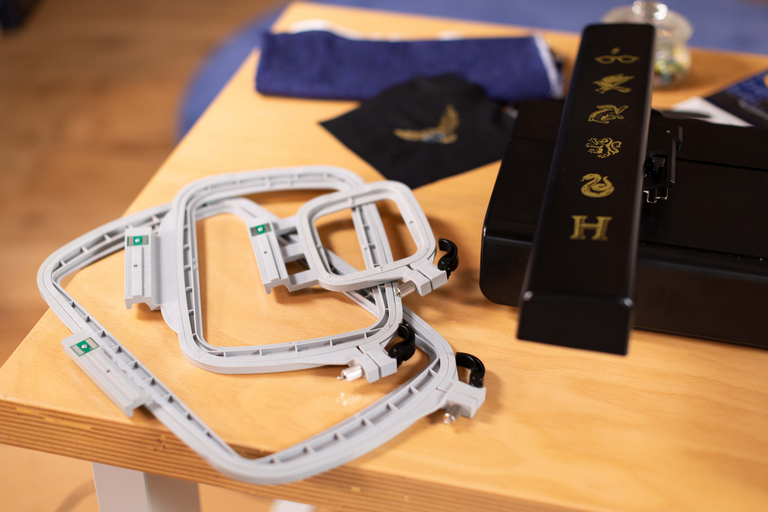
3 telai per ricamo inclusi
Con il telaio per ricamo in tre misure puoi affrontare qualsiasi progetto. Dai disegni compatti agli ampi motivi fino a 260 x 160 mm tutto è possibile, incluso il riconoscimento automatico del telaio per ricamo direttamente sul touchscreen.
Funzioni