bernette 79 Harry Potter


-
Verfügbar
Gewählter Store

Produktbeschreibung
Beschreibung
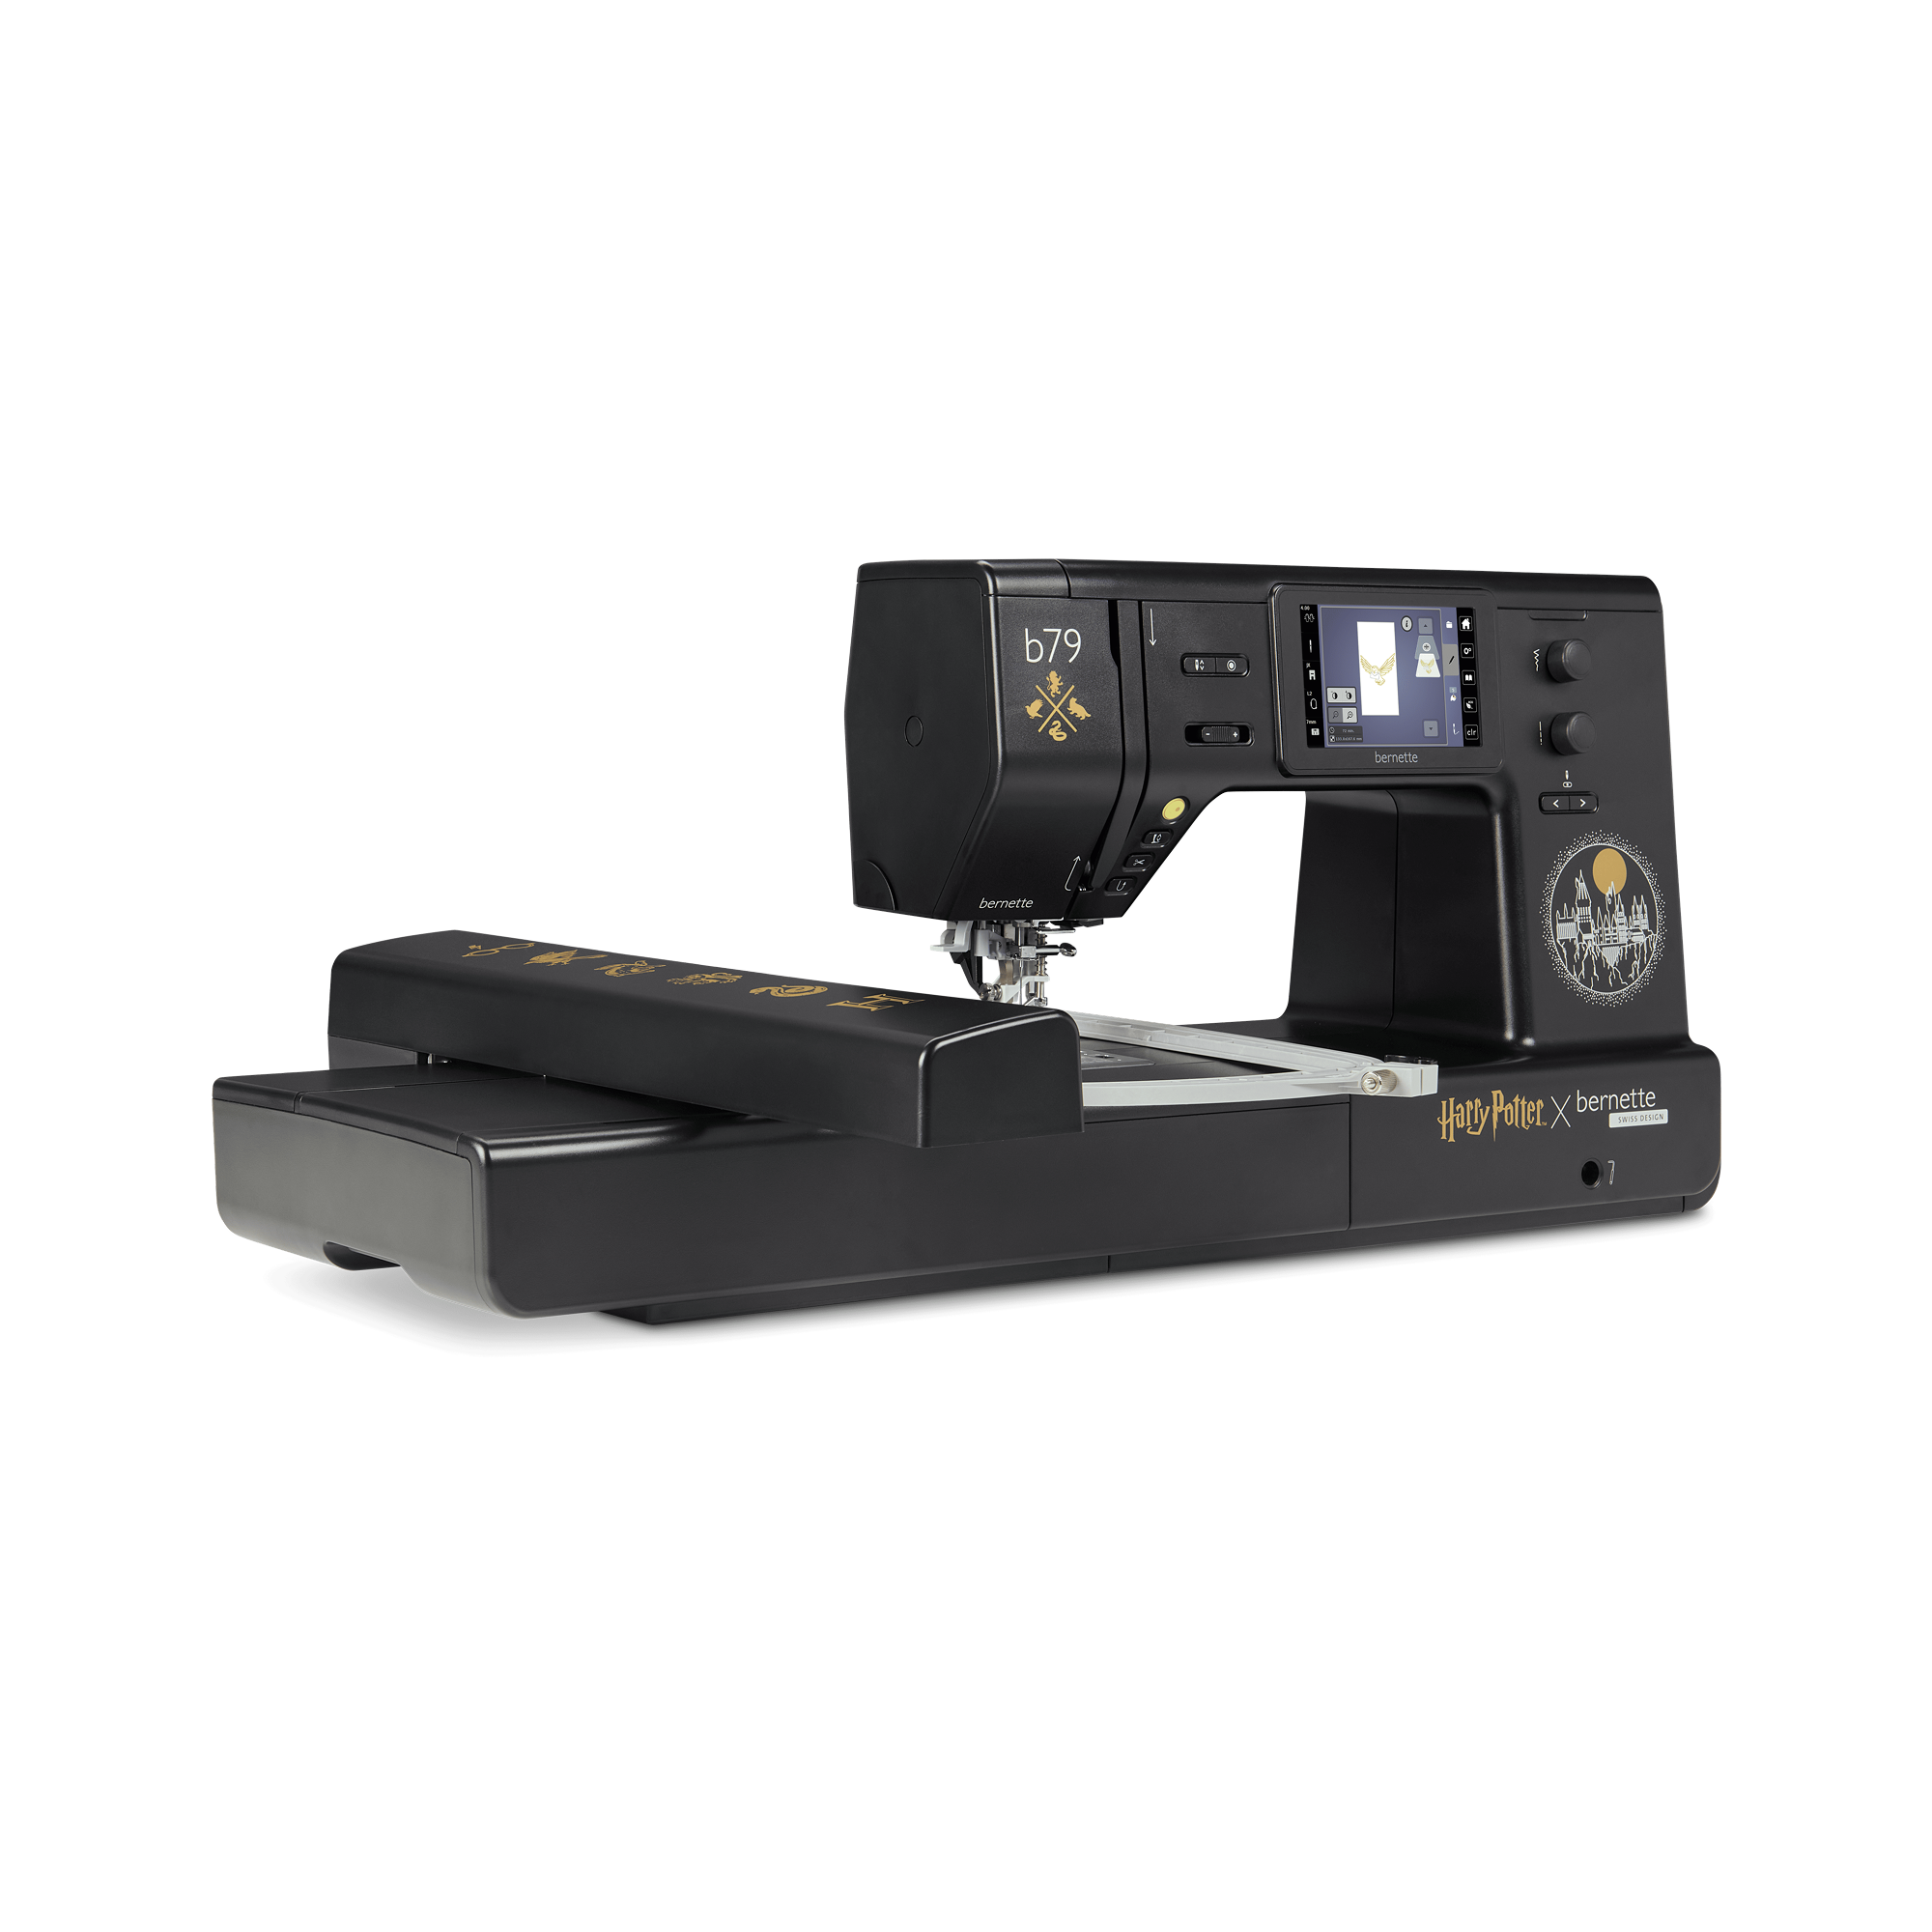
Zauberhaft nähen und sticken
Besonderheiten
- Exklusives Harry-Potter-Maschinendesign mit liebevoll integrierten Details
- Insgesamt 500 Stiche, darunter 5 exklusive Harry-Potter-Zierstiche
- 250 vorinstallierte Stickmotive mit 42 Harry-Potter-Designs
- 10 weitere exklusive Harry-Potter-Stickmotive
- Grosszügige Stickfläche von bis zu 260 x 160 mm

Magisches Design für echte Harry-Potter-Fans
Hol dir die Welt von Harry Potter in dein Nähzimmer und lass dich bei jedem Projekt ein Stück davon begleiten. Durchdachte Design-Details auf und in der Maschine warten darauf, von dir entdeckt zu werden.
So wird jede Session mit der b79 Harry Potter zu einem kleinem Ausflug in deine ganz persönliche Zauberwelt.
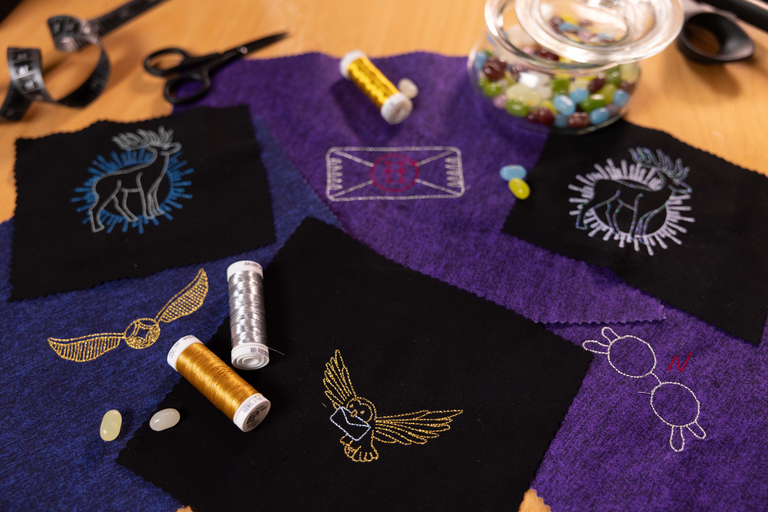
52 Harry-Potter-Stickmotive
10 exklusive Harry-Potter-Stickmotive verleihen deinen Projekten im Handumdrehen einen Hauch von Hogwarts. Die Designs setzen auf Hoodies, Shirts oder Dekoartikeln dezente Highlights mit viel Wirkung. So bekommen auch kleine Projekte schnell einen magischen Touch. Diese Stickmotive sind exklusiv auf der bernette 79 Harry Potter zu finden und machen jedes Werk zu etwas ganz Besonderem.
Magie hört nicht nach zehn Motiven auf. 42 weitere vorinstallierte Harry-Potter-Stickmotive aus der OESD-Bibliothek geben dir noch mehr Raum für kreative Abenteuer.
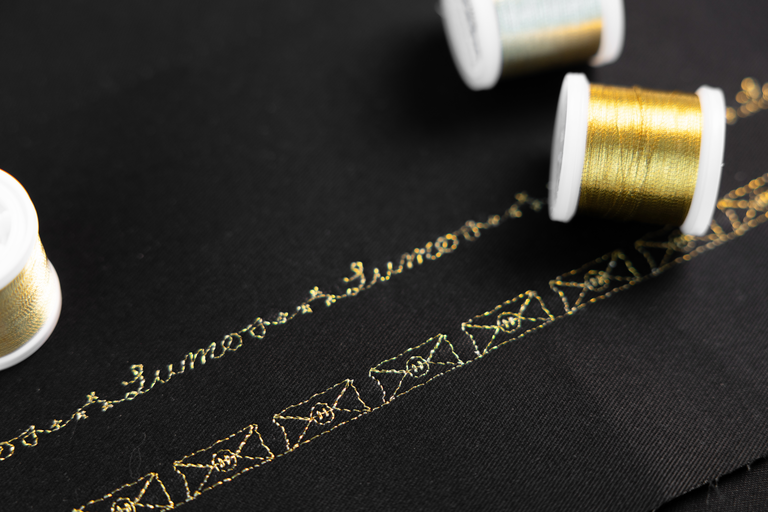
5 exklusive Harry-Potter-Zierstiche
Diese fünf Zierstiche sind kein Extra, das man überall findet, sondern ein weiteres Highlight der b79 Harry Potter. Ob du Säume kreativ in Szene setzen willst, Kanten betonen oder deinem Quilten eine magisch-wirkende Textur verleihen willst, diese Zierstiche sind ein dezenter Hingucker.
Auf deiner b79 Harry Potter kannst du die Zierstiche direkt am Bildschirm auch nach deinem eigenen Geschmack kombinieren und machst jedes Projekt unverwechselbar.
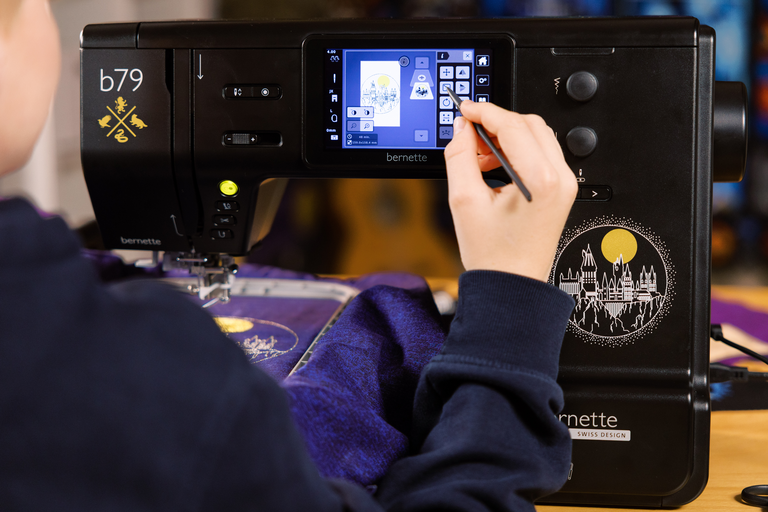
Kreativ direkt am Screen
Auf dem farbigen 5-Zoll-Touchscreen bearbeitest du Motive und Stiche intuitiv nach deinem Projekt. Drehen, spiegeln und kombinieren geht spielend leicht, bis alles optimal zu deiner Idee passt.
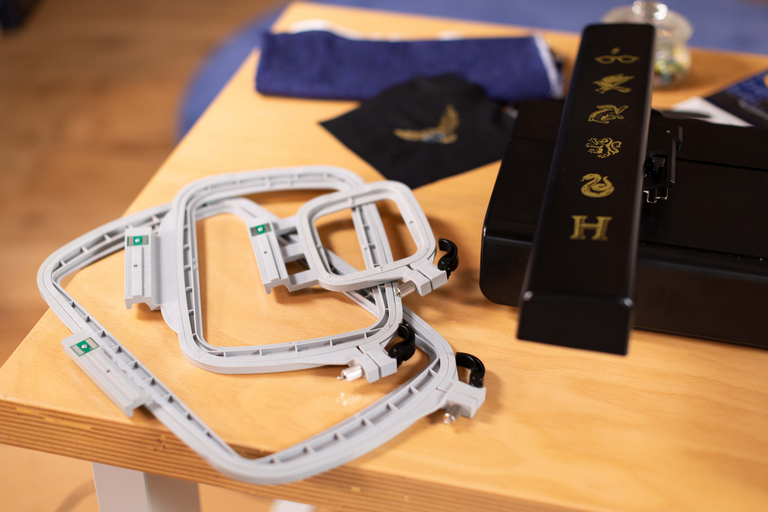
3 Stickrahmen inklusive
Mit den Stickrahmen in drei Grössen bist du bereit für jedes Projekt. Von kompakten Designs zu grossen Motiven mit bis zu 260 x 160 mm ist alles möglich, inklusive automatischer Stickrahmenerkennung direkt auf dem Touchscreen.
Merkmale & Funktionen